
.
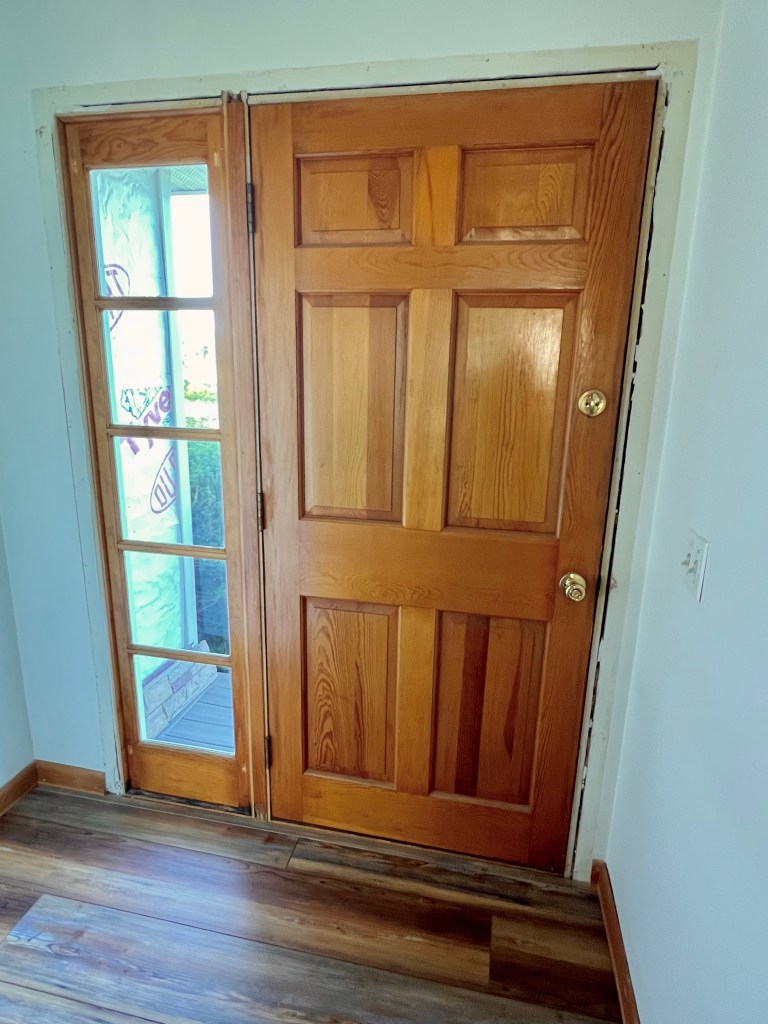
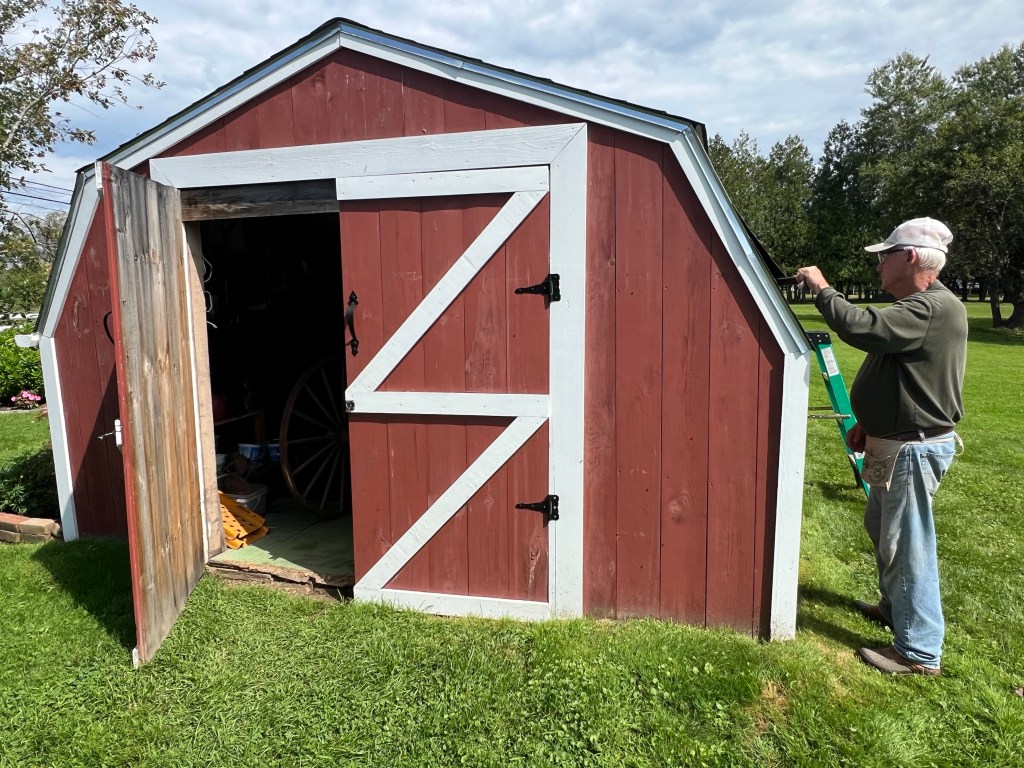
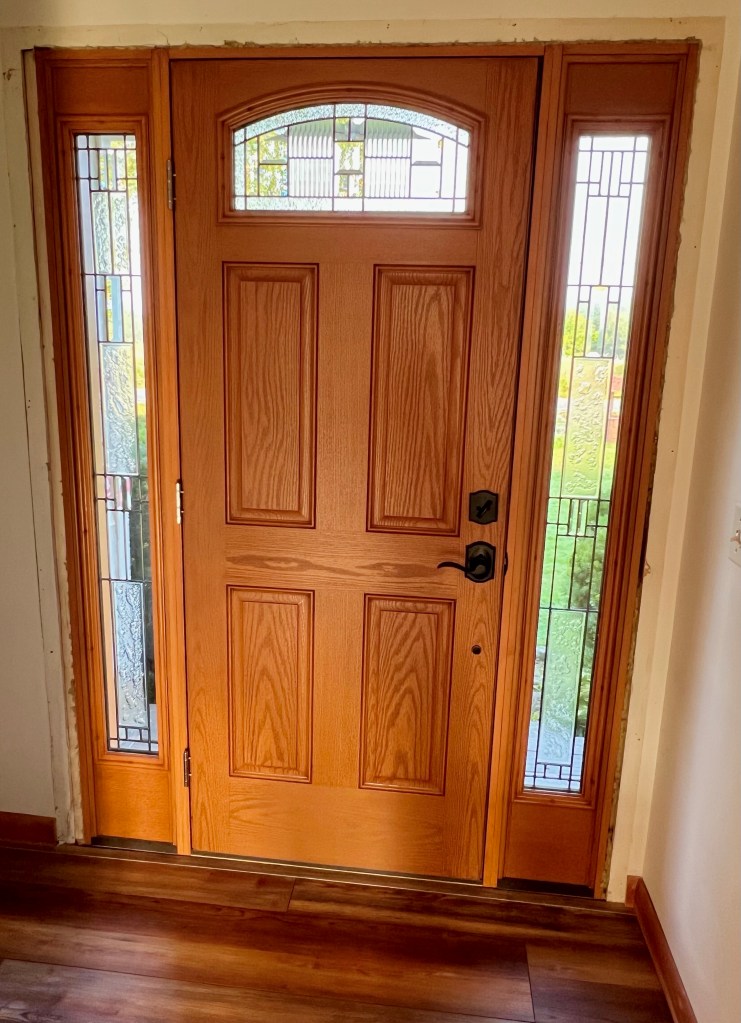
The new door was seated but not quite right, so a temporary doorknob was installed overnight.
.

.
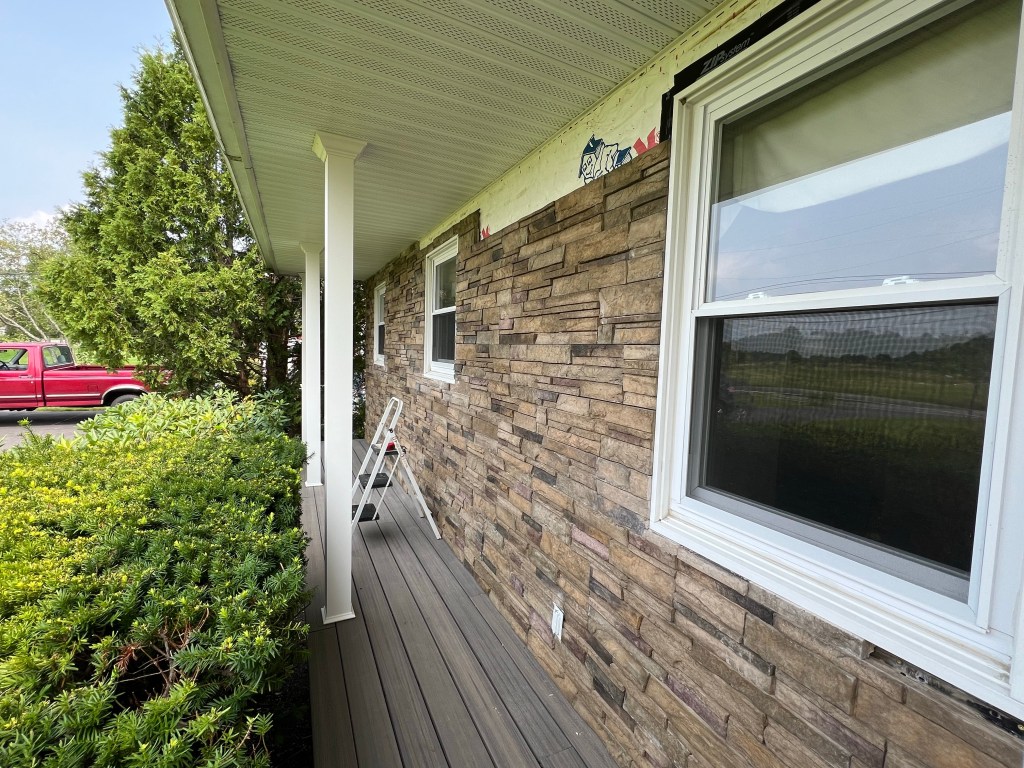
Not attractive, but it kept the bugs out.
.
.
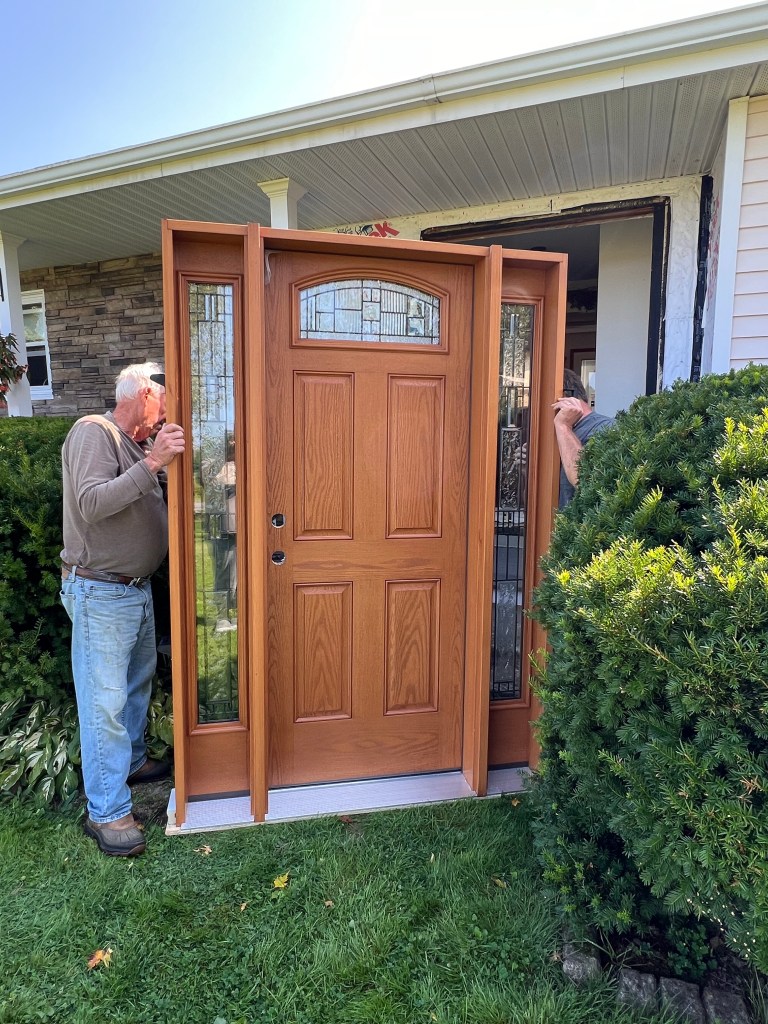
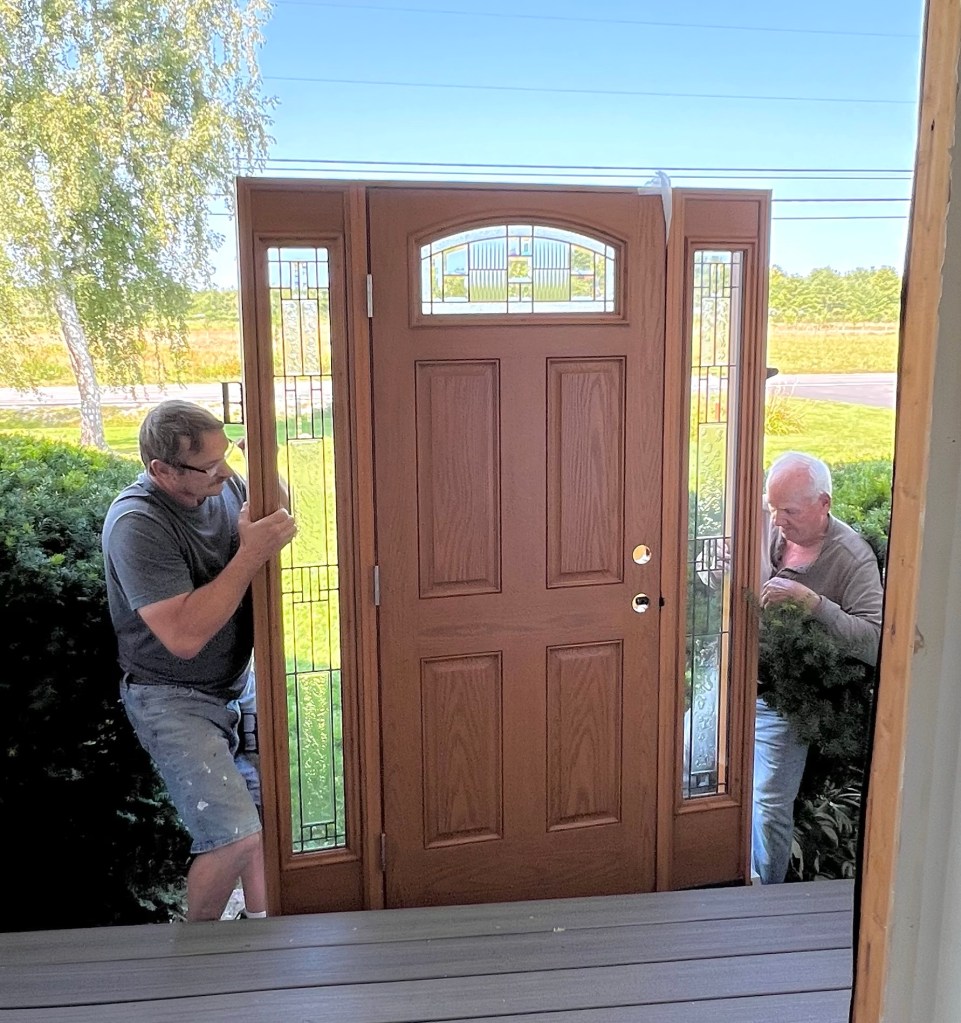
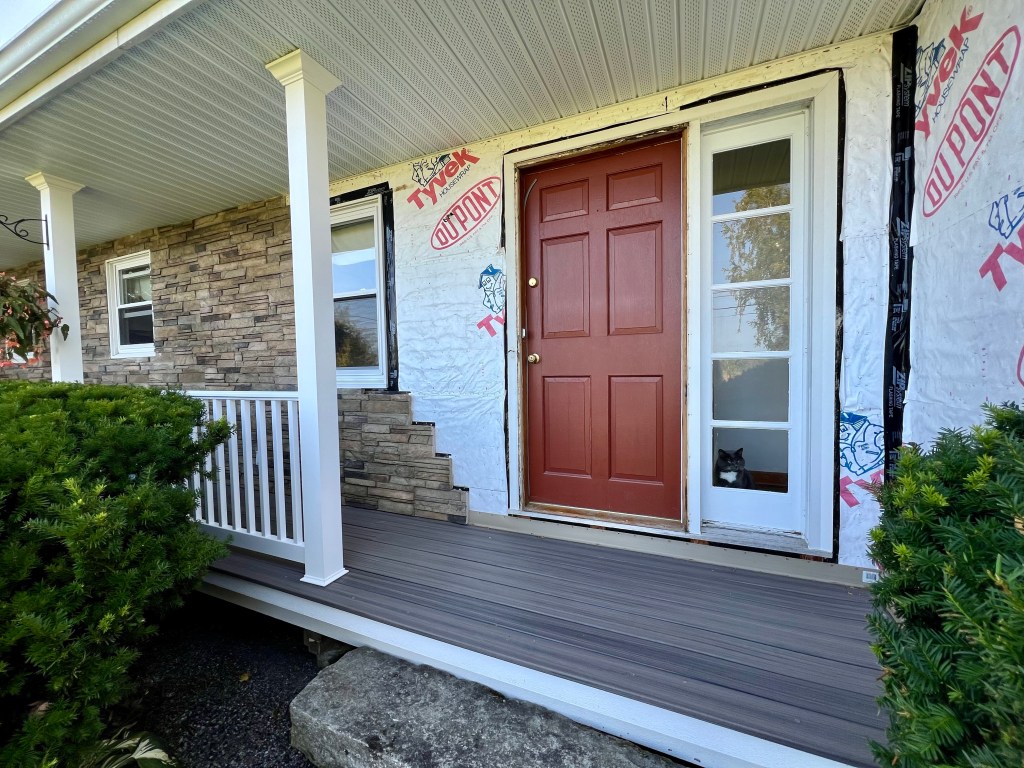
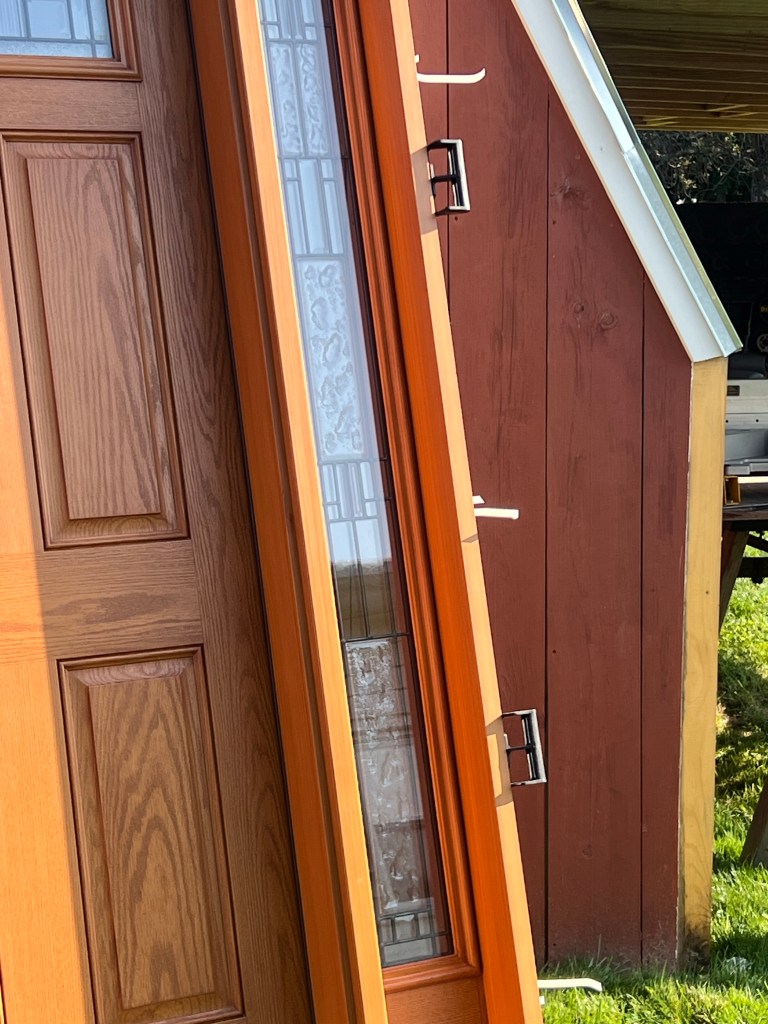
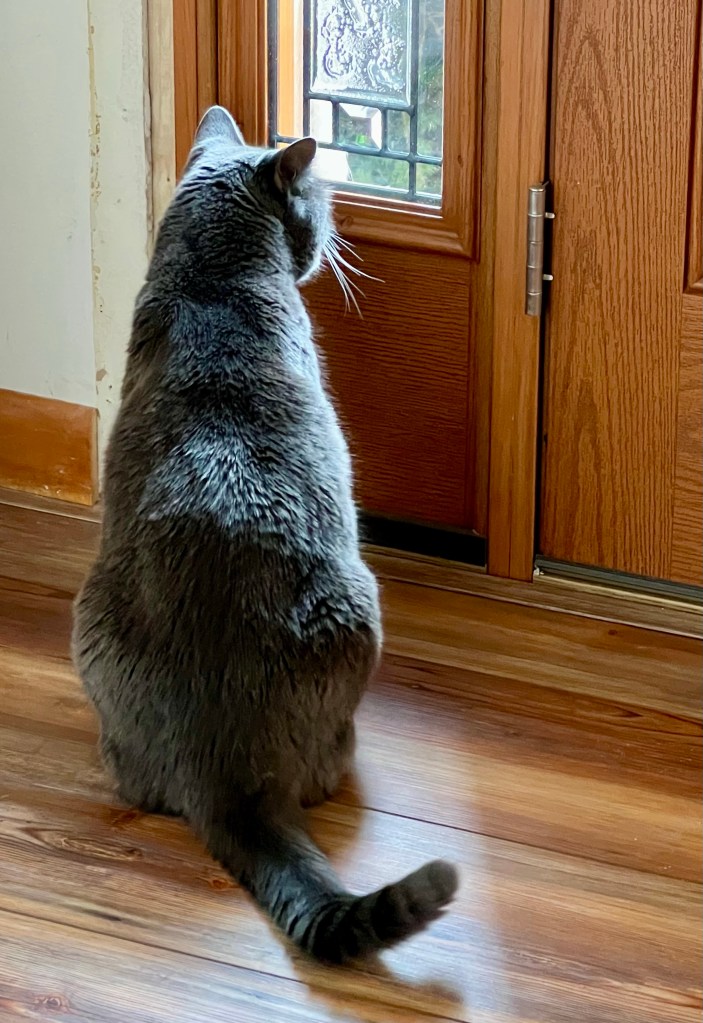
His Lordship is not happy with the new decorative glass. It distorts his bird viewing and I’m sure I’ll hear more about this issue in the future.
.
.
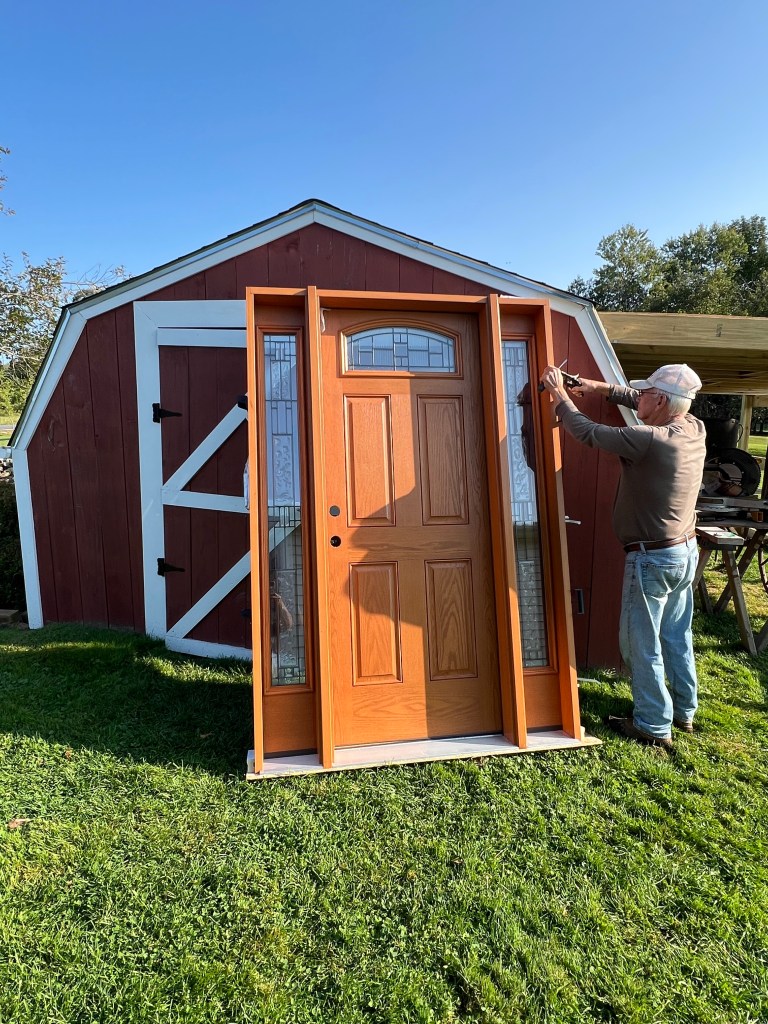
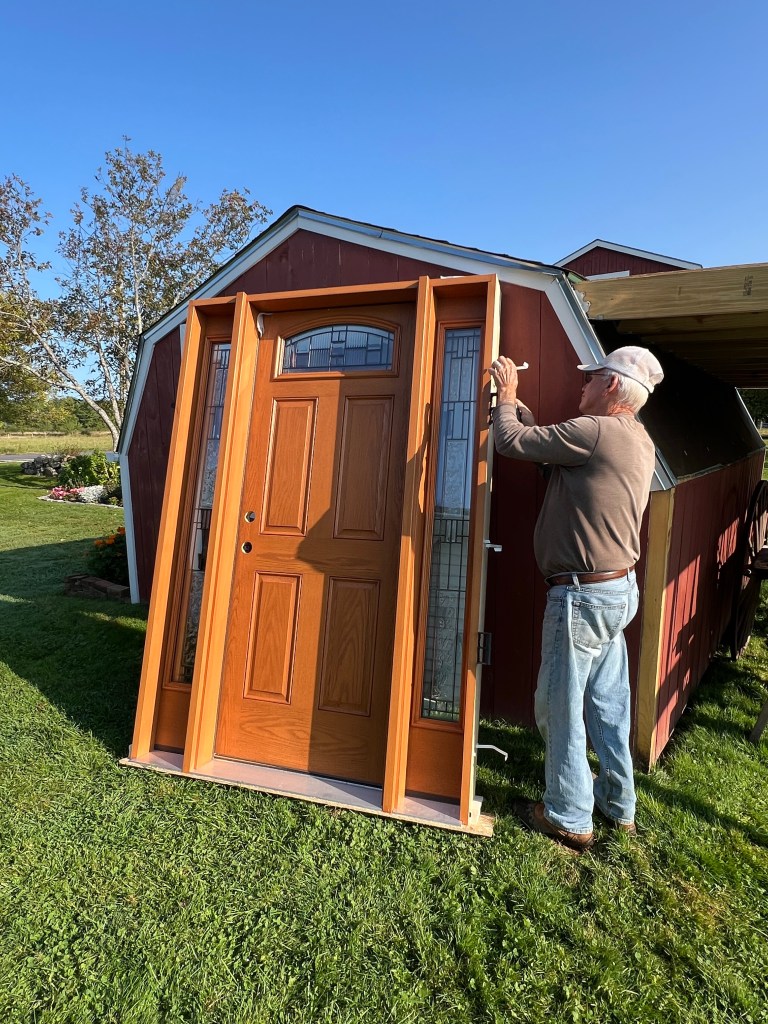
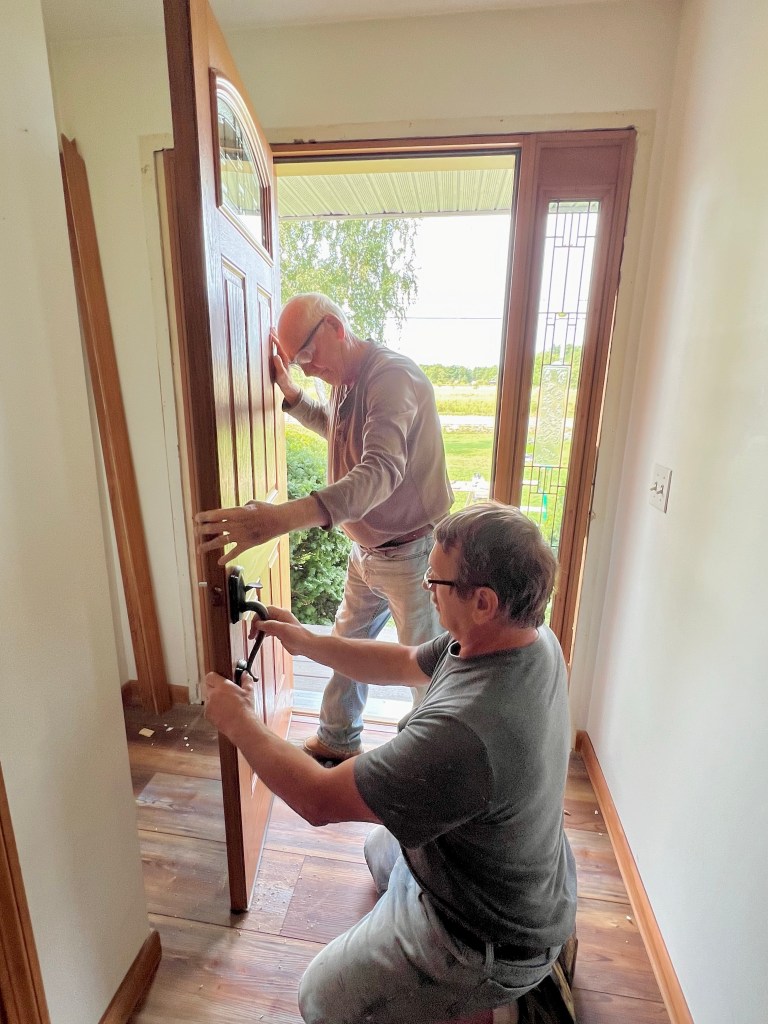
My husband rolled his eyes at the fancy door handle I bought, but it went in easier than most.
.
.
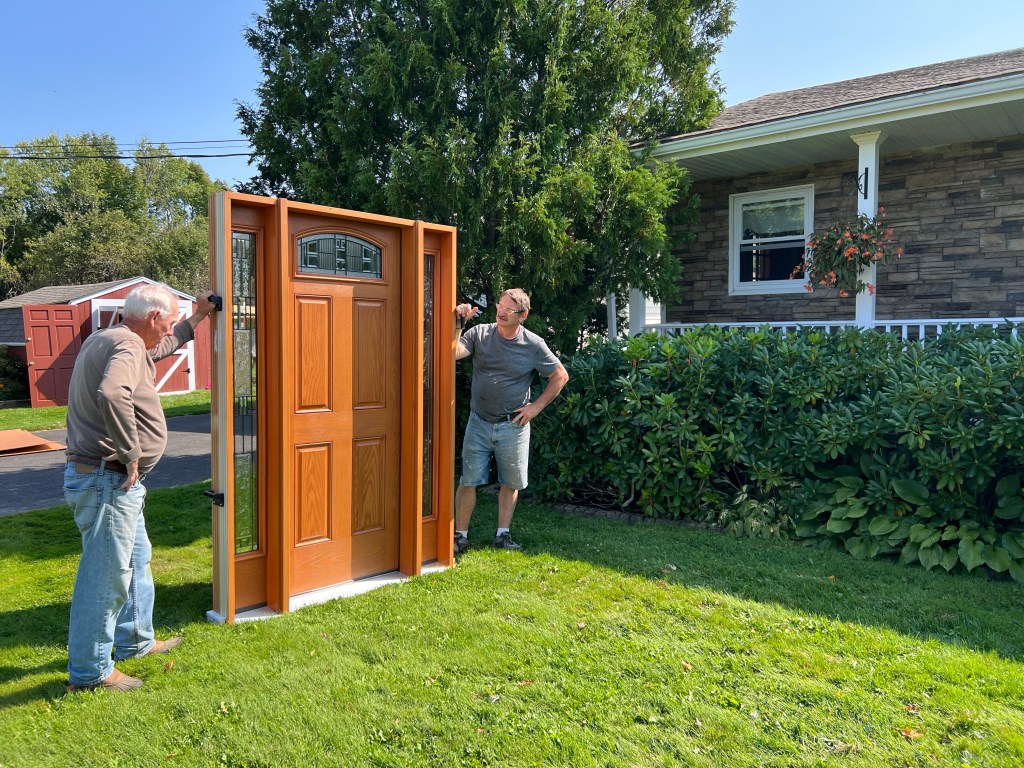
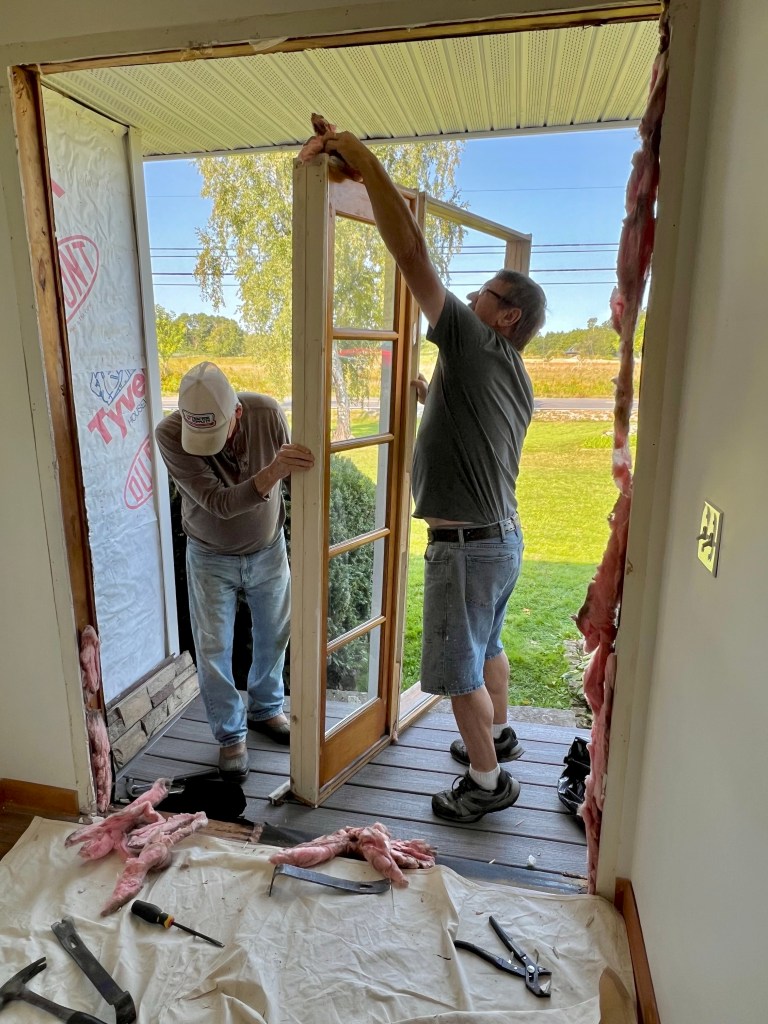
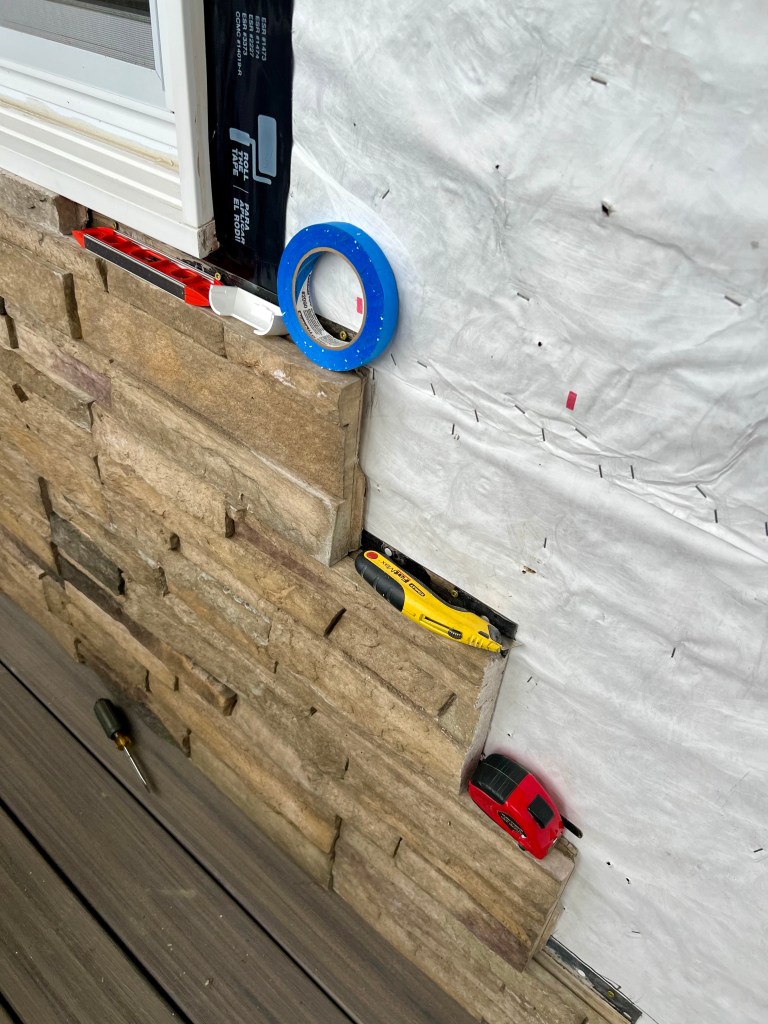
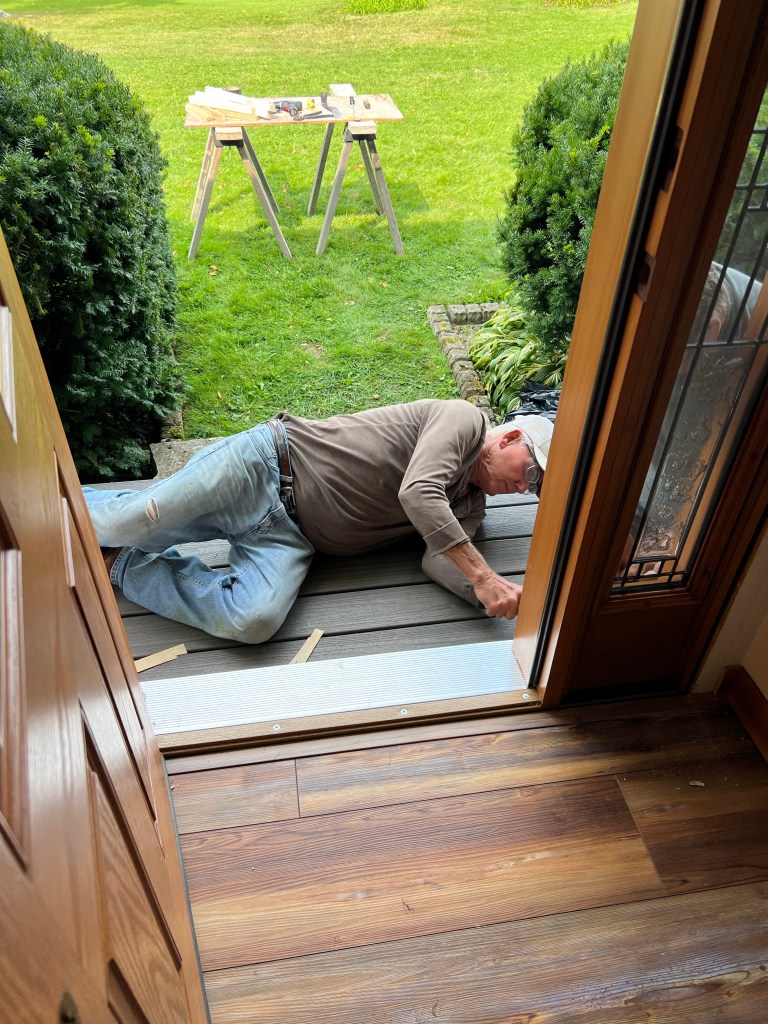
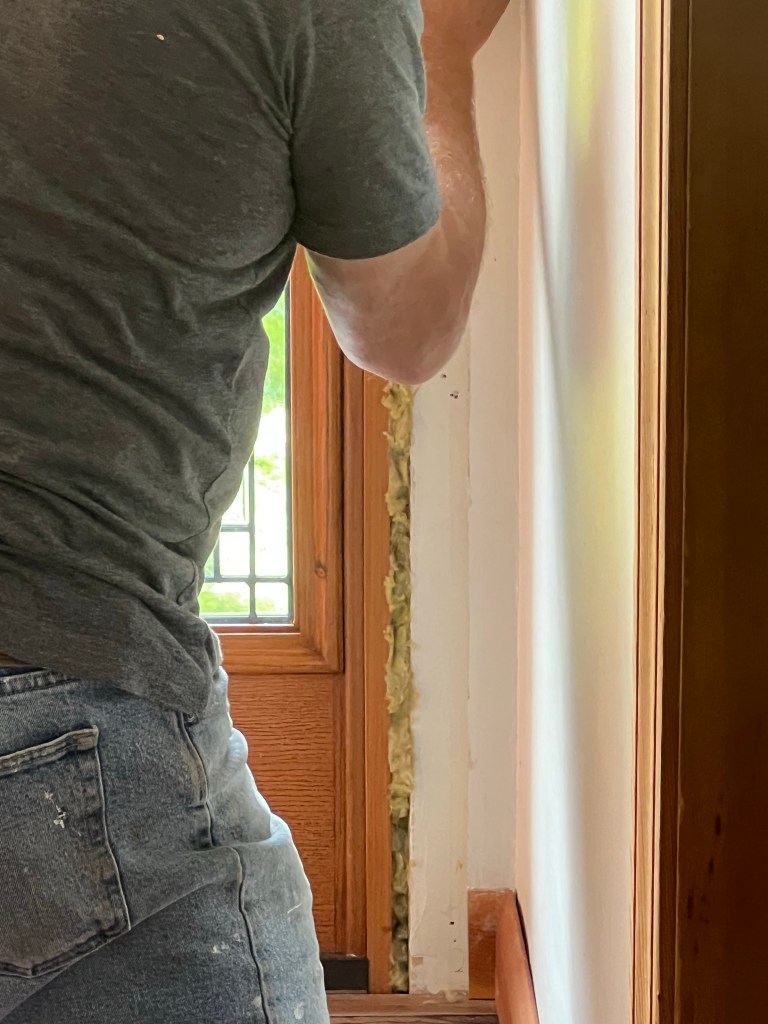
If you can believe it.. a full day was spent making adjustments, shimming, un-shimming, moving, tweaking and leveling the door so it closed properly with no gaps. Wood had to be added on both sides of the frame since the door was slightly too small for the rough opening.
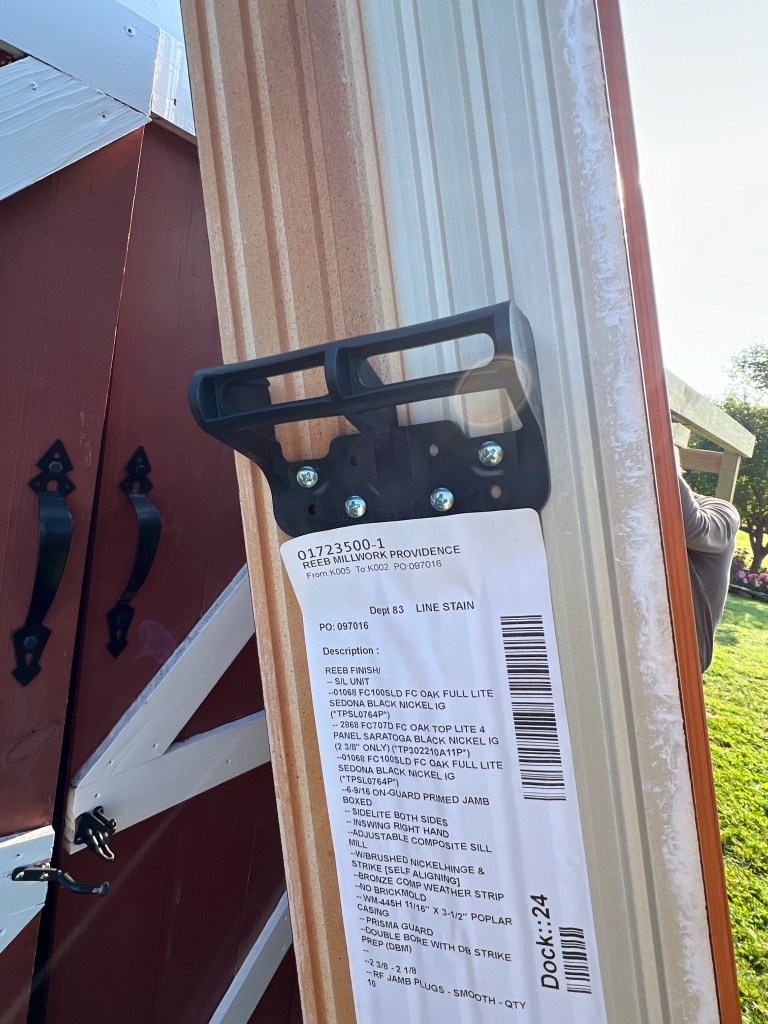
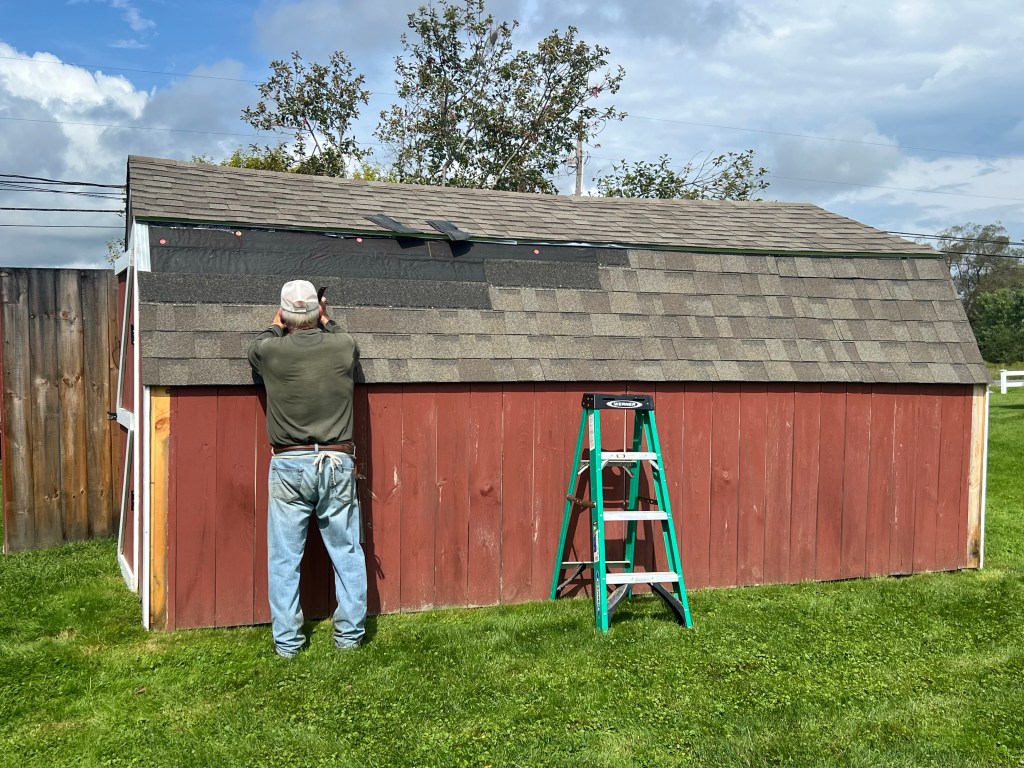
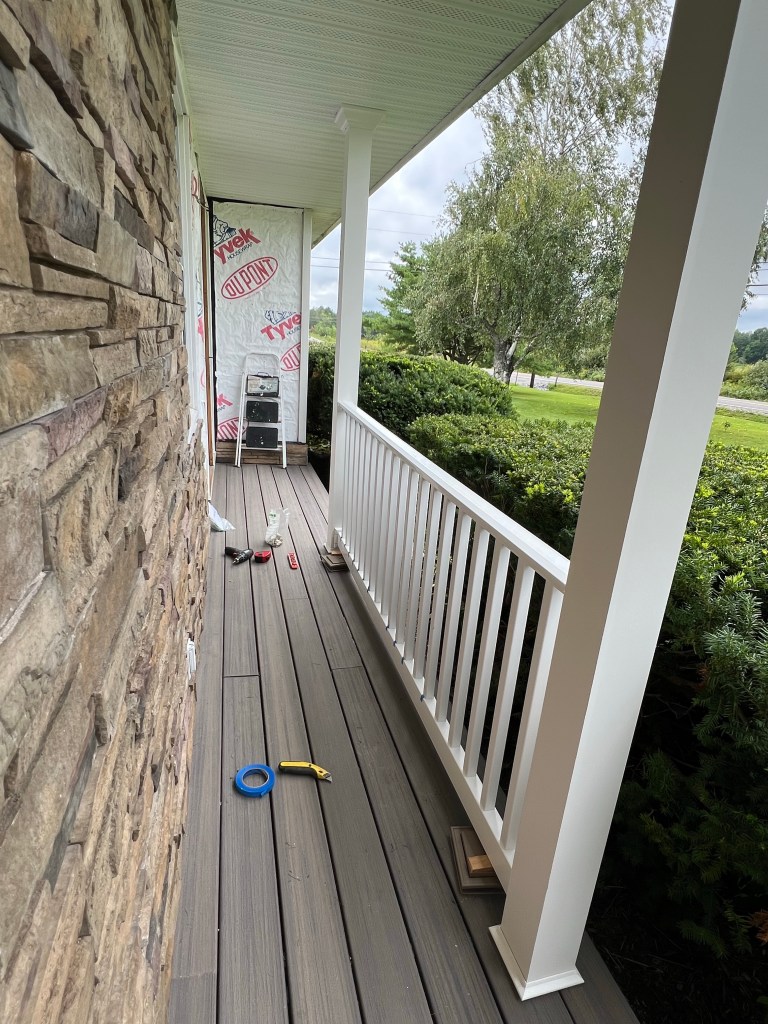
After that, insulation was stuffed in holes…
.
.
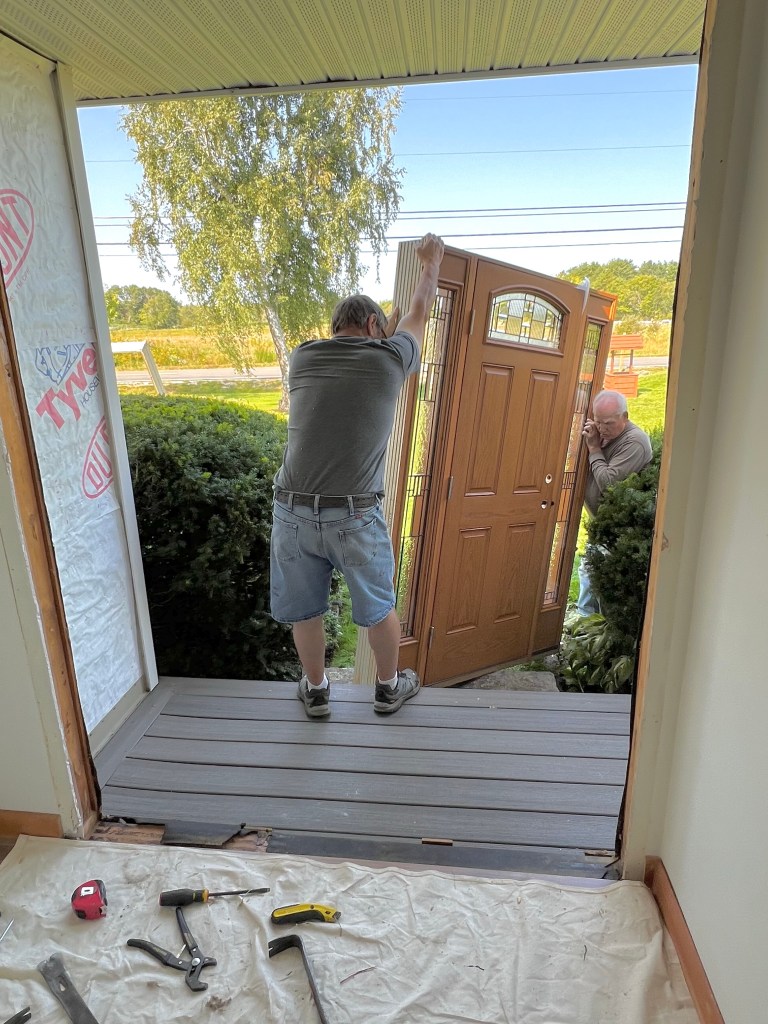
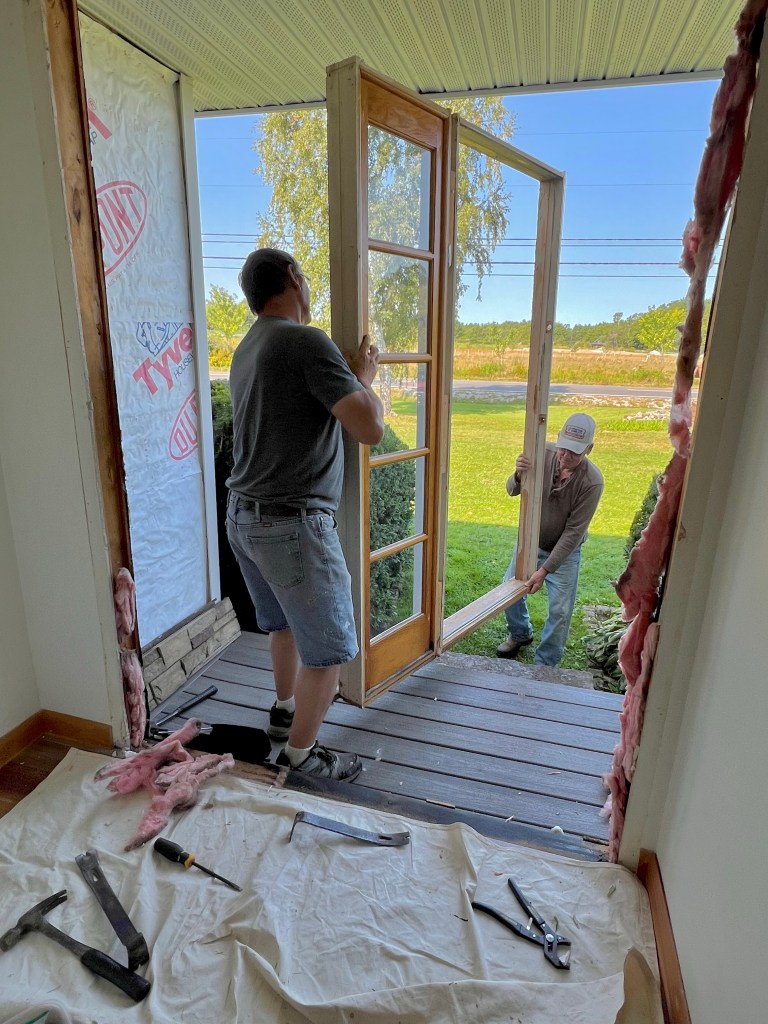
Of which there were many because my always in a hurry husband measured the rough opening incorrectly.
.

.
The height was fine, but the width was off by a good 2 inches…
.
.
Which means all new moulding will be needed.
.

.
Sigh.
🥴
.