
.
Remember our old… I’m estimating 50 years… front door?
.

.
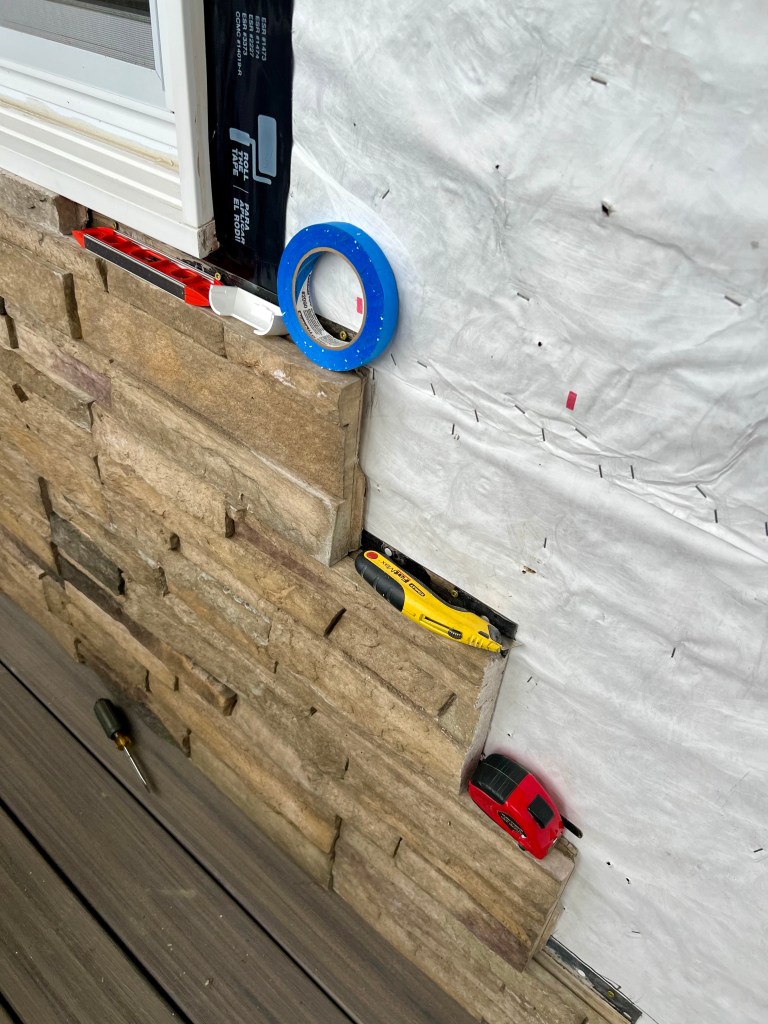
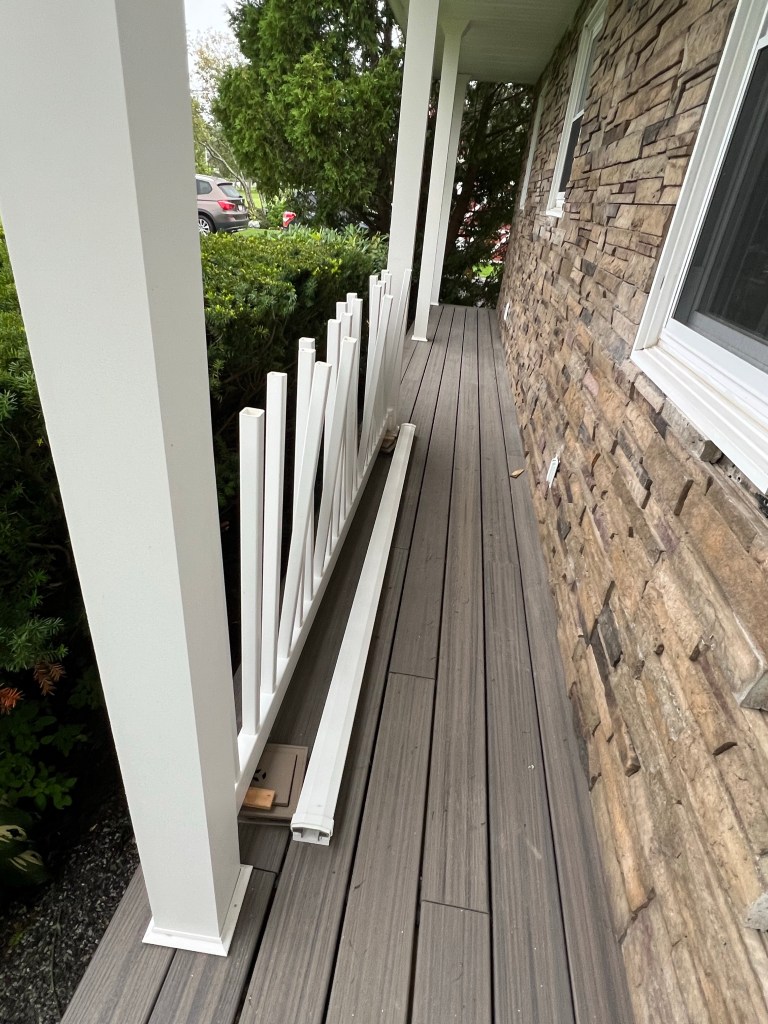
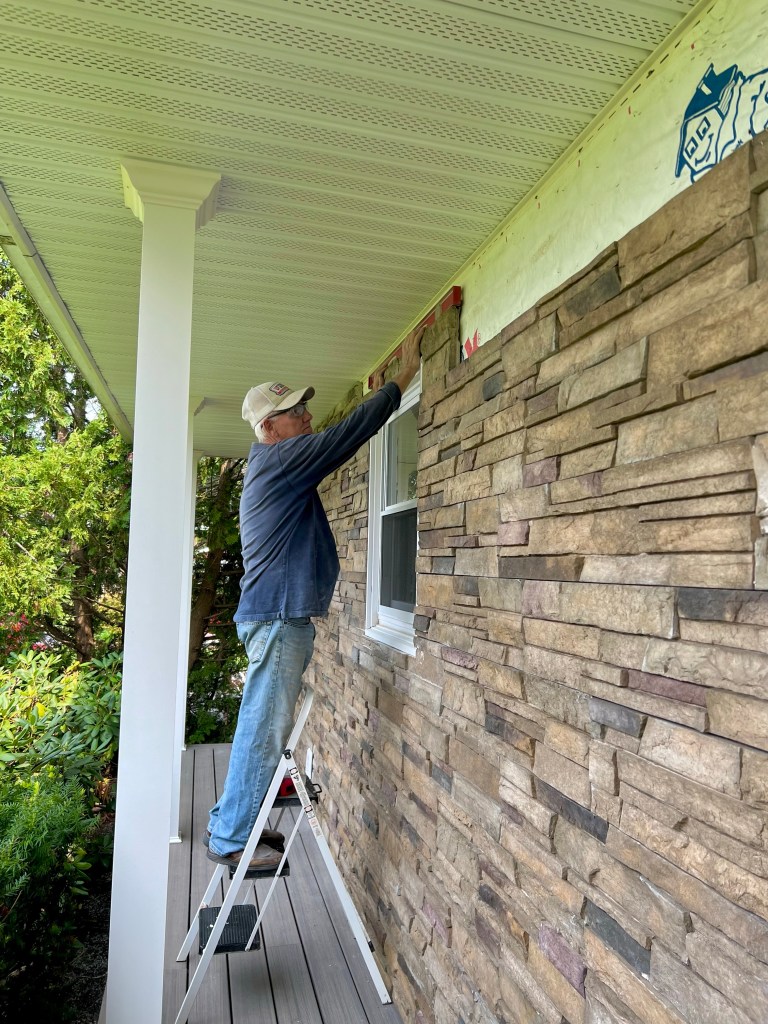
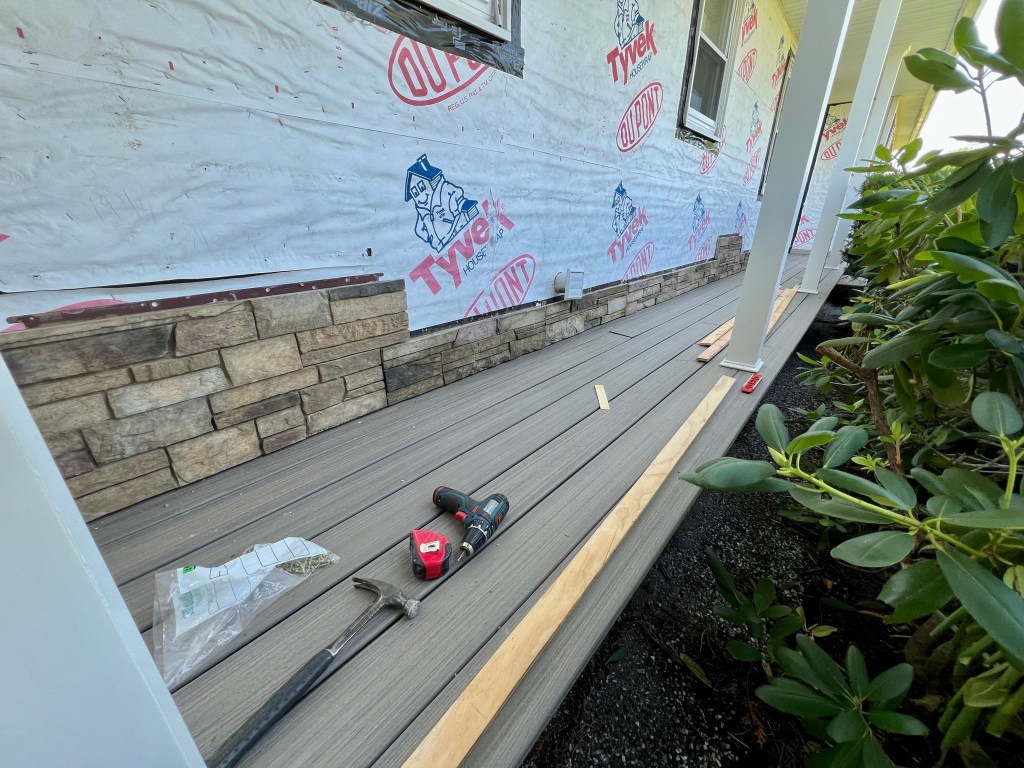
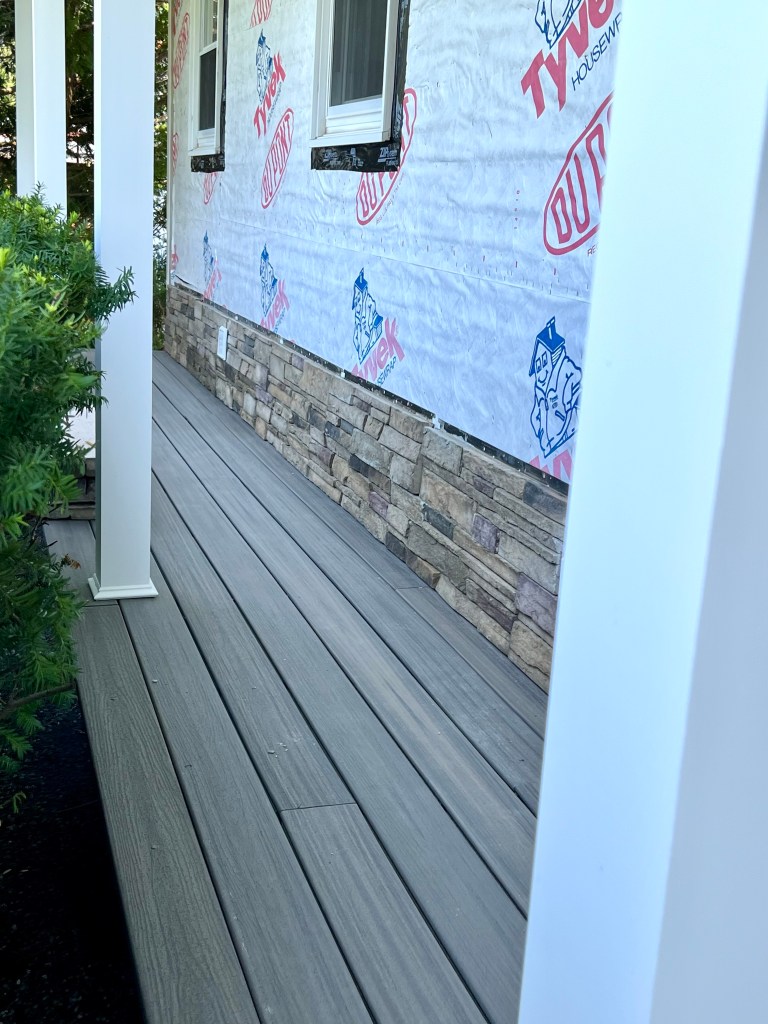
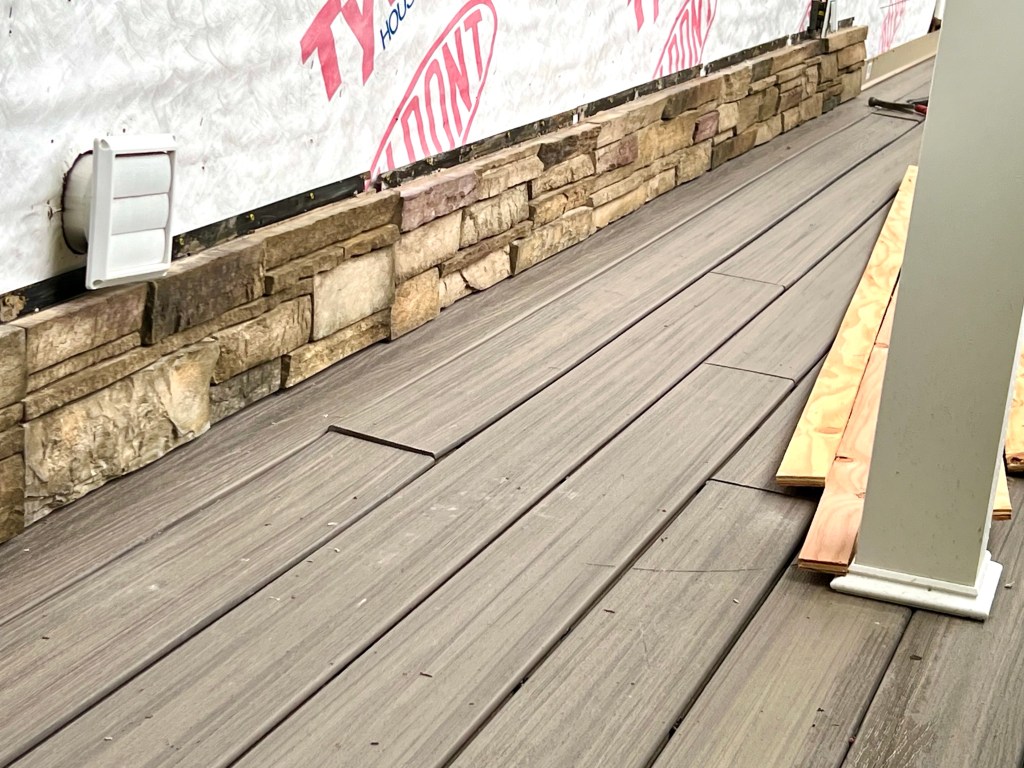
The one we have to replace before my husband can finish the stone siding on the front porch?
.

.
The one that was impossible to replace in that particular configuration.
.

.
The one for which we ordered a replacement but have been waiting forever for it to arrive?
.

.
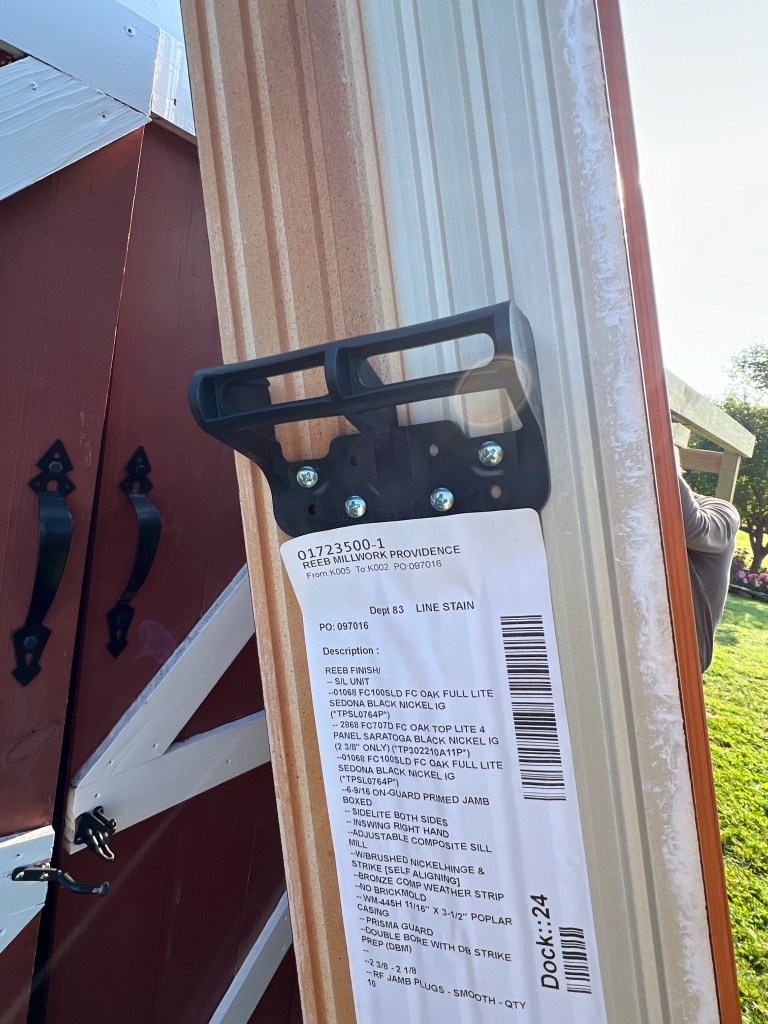
It arrived.
And Holy Macaroni Batman! The thing weighs a ton. It took three delivery men 20 minutes to manhandle it 10 feet.
I was afraid they’d damaged it but when my husband removed the packaging it looked fine.
.
.
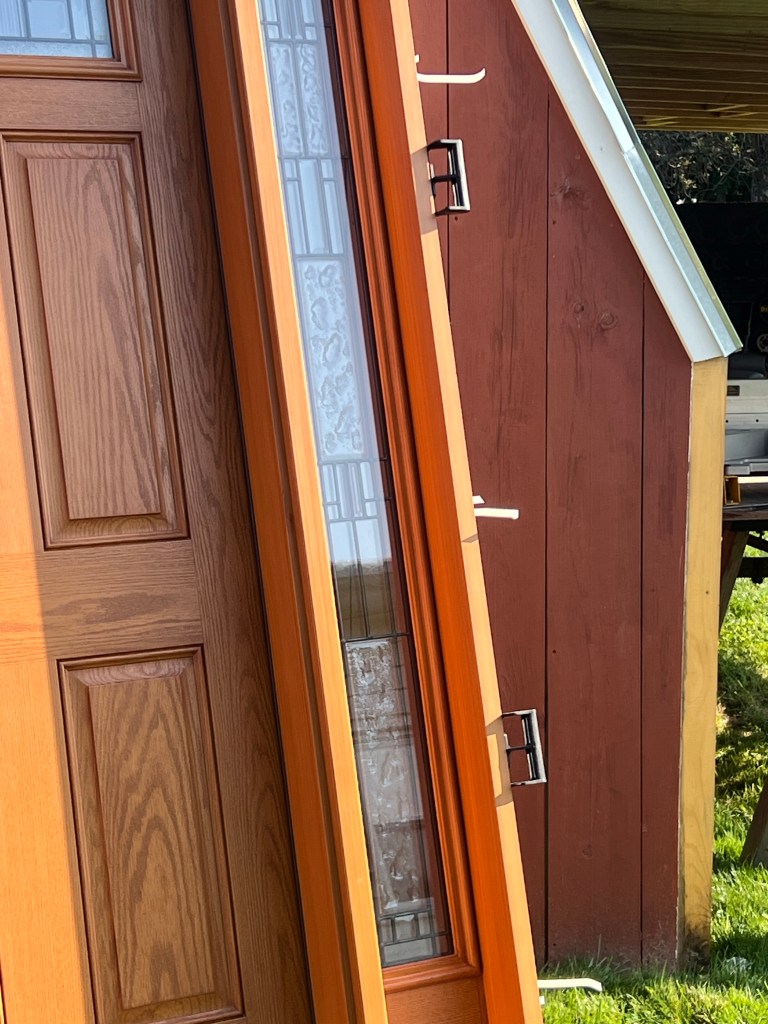
Yes, it came with handles.
.
.
Though the ones on the right were put on the wrong way.
.

.
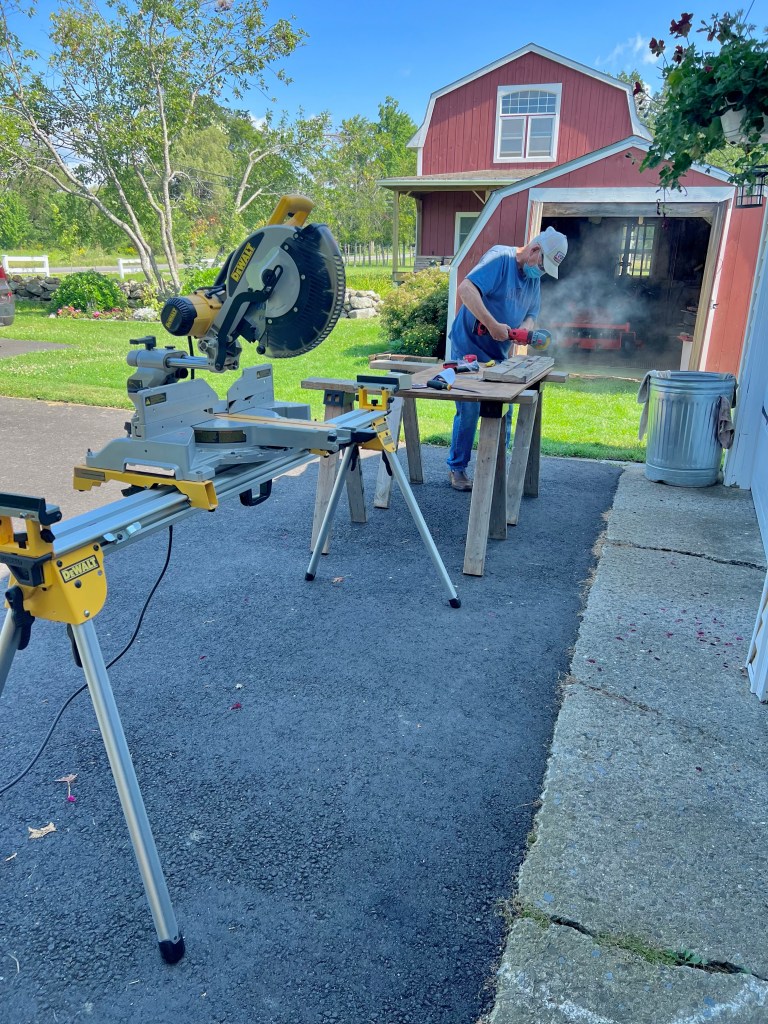
I’m not looking forward to my husband installing this door. Careful and precise are not his favorite words and it may require a lot more finesse than he’s capable of delivering.
Sigh.
.